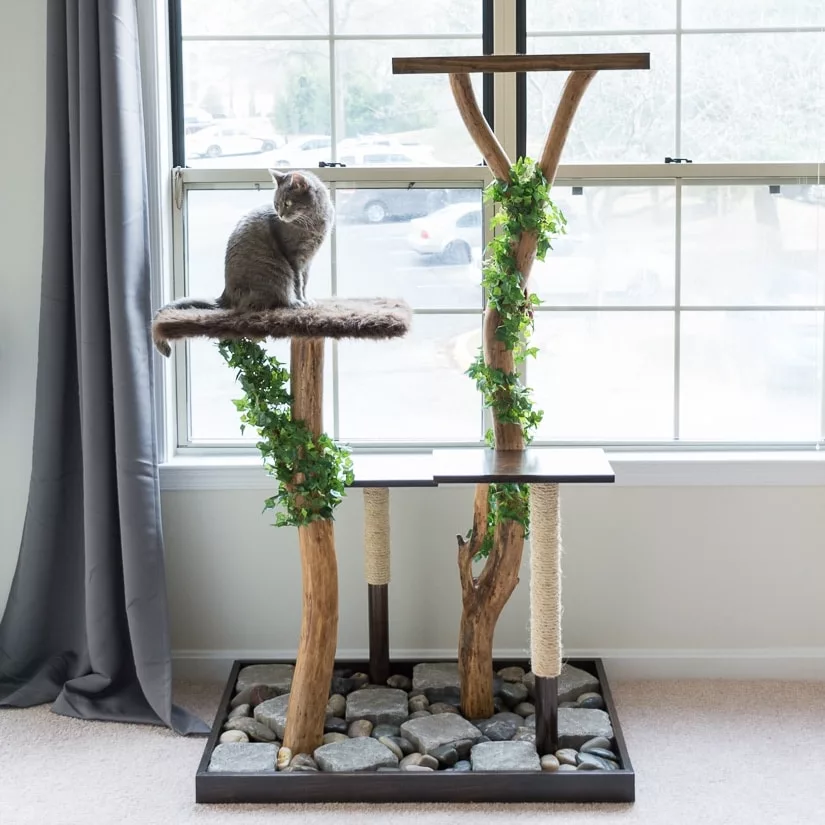
How to Build Your Own Custom Cat Tree: A Step-by-Step Guide 2023

A cat tree is an excellent addition to any cat owner’s home, providing a wide range of benefits for both the feline and its owner. Cat trees offer a dedicated space for your cat to play, exercise, and relax while stimulating their natural instincts. Here is a brief overview of the benefits of cat trees:

  1. Encourages exercise and play: Cat trees often feature multiple levels, platforms, and toys that encourage your cat to jump, climb, and explore. This physical activity is essential for maintaining a healthy weight and muscle tone, as well as promoting overall well-being.
  2. Satisfies the natural urge to scratch: Cat trees often come with scratching posts wrapped in sisal rope or other materials. These posts provide an appropriate outlet for your cat’s instinct to scratch, which can help save your furniture and carpets from damage.
  3. Provides a safe and secure space: Cats are natural climbers and often seek high places to survey their territory and feel safe from potential threats. Cat trees give them a designated area to perch and observe their surroundings, making them feel more secure in their environment.
  4. Reduces stress and anxiety: Having a dedicated space for your cat to retreat to can help reduce their stress and anxiety levels. This is especially important in multi-cat households or homes with other pets, as it provides each cat with a personal space where they can relax and unwind.
  5. Enhances mental stimulation: Cat trees often come equipped with various features, such as hanging toys, tunnels, and hideaways, that can keep your cat entertained and mentally engaged. This is crucial for preventing boredom, which can lead to undesirable behaviors or health issues.

In summary, cat trees provide numerous benefits for both cats and their owners. By offering a designated space for your cat to play, exercise, and relax, you can improve their overall health and happiness while reducing the likelihood of destructive behavior in your home.

A. List of materials required for the project:

  1. Wooden boards and posts: These form the primary structure of your cat tree. You will need wooden boards to create platforms and perches, and posts to provide support and serve as scratching surfaces. You can use plywood or MDF boards for platforms and 2x4s or 4x4s for posts. The quantity and dimensions will depend on your cat tree design.
  2. Sisal rope: Sisal rope is the ideal material for covering the posts, as it is durable and provides an excellent surface for your cat to scratch. The natural fibers are also safe for your cat’s claws. You will need enough rope to wrap around the posts, typically between 50-100 feet, depending on your design.
  3. Carpet or fabric: Carpet or fabric is used to cover the platforms and perches, providing a comfortable and slip-resistant surface for your cat. You can choose a material that matches your home’s decor or opt for a pet-friendly fabric. Make sure to have enough material to cover all platforms and perches.
  4. Screws, brackets, and other hardware: These are essential for assembling your cat tree and securing the various components together. You will need wood screws, L-brackets, and angle brackets to attach platforms and posts. Additionally, you may require eye hooks or other hardware to attach toys or other accessories.

B. Essential tools for the project:

  1. Saw: A saw is necessary for cutting the wooden boards and posts to the desired dimensions. You can use a handsaw, circular saw, or miter saw, depending on your preference and the tools you have available.
  2. Power drill: A power drill is used to create pilot holes for screws and to drive screws into the wood during assembly. It is an essential tool for a sturdy and secure cat tree construction.
  3. Staple gun: A staple gun is used to attach the carpet or fabric to the platforms and perches. It ensures that the material is securely fastened, providing a safe and comfortable surface for your cat.
  4. Measuring tape: A measuring tape is essential for accurately measuring the dimensions of your cat tree components, such as the wooden boards, posts, and fabric. Accurate measurements are crucial for a well-fitting and stable cat tree.
  5. Hammer: A hammer is helpful for securing brackets and other hardware during the assembly process. It can also be used to gently tap components into place if needed.

Having the right materials and tools on hand will ensure a smooth and successful cat tree construction process. By using high-quality materials and following proper assembly techniques, you can create a custom cat tree that meets your cat’s needs and complements your home’s decor.

III. Planning and Designing Your Custom Cat Tree

A. Assessing your cat’s needs and preferences:

  1. Age, size, and activity level considerations: Before you start designing your cat tree, take into account your cat’s age, size, and activity level. Older or less active cats may prefer lower perches and more accessible platforms, while younger or more active cats may appreciate taller structures and more challenging climbing opportunities. Additionally, consider the size and weight of your cat to ensure the platforms and posts are sturdy and spacious enough to accommodate them comfortably.
  2. Observing your cat’s favorite activities: Pay attention to the activities your cat enjoys the most. Do they love to scratch, climb, hide, or lounge in high places? Incorporating elements that cater to your cat’s preferences will make the cat tree more appealing and engaging for them.

B. Choosing the right location and dimensions:

Select a location for your cat tree that provides ample space, good visibility, and is easily accessible to your cat. Consider placing the cat tree near a window to provide your cat with a view of the outdoors or in an area where they frequently spend time. Measure the available space to determine the maximum height, width, and depth your cat tree can have. Keep in mind that a larger cat tree may require more materials and a higher budget.

C. Sketching a design and layout:

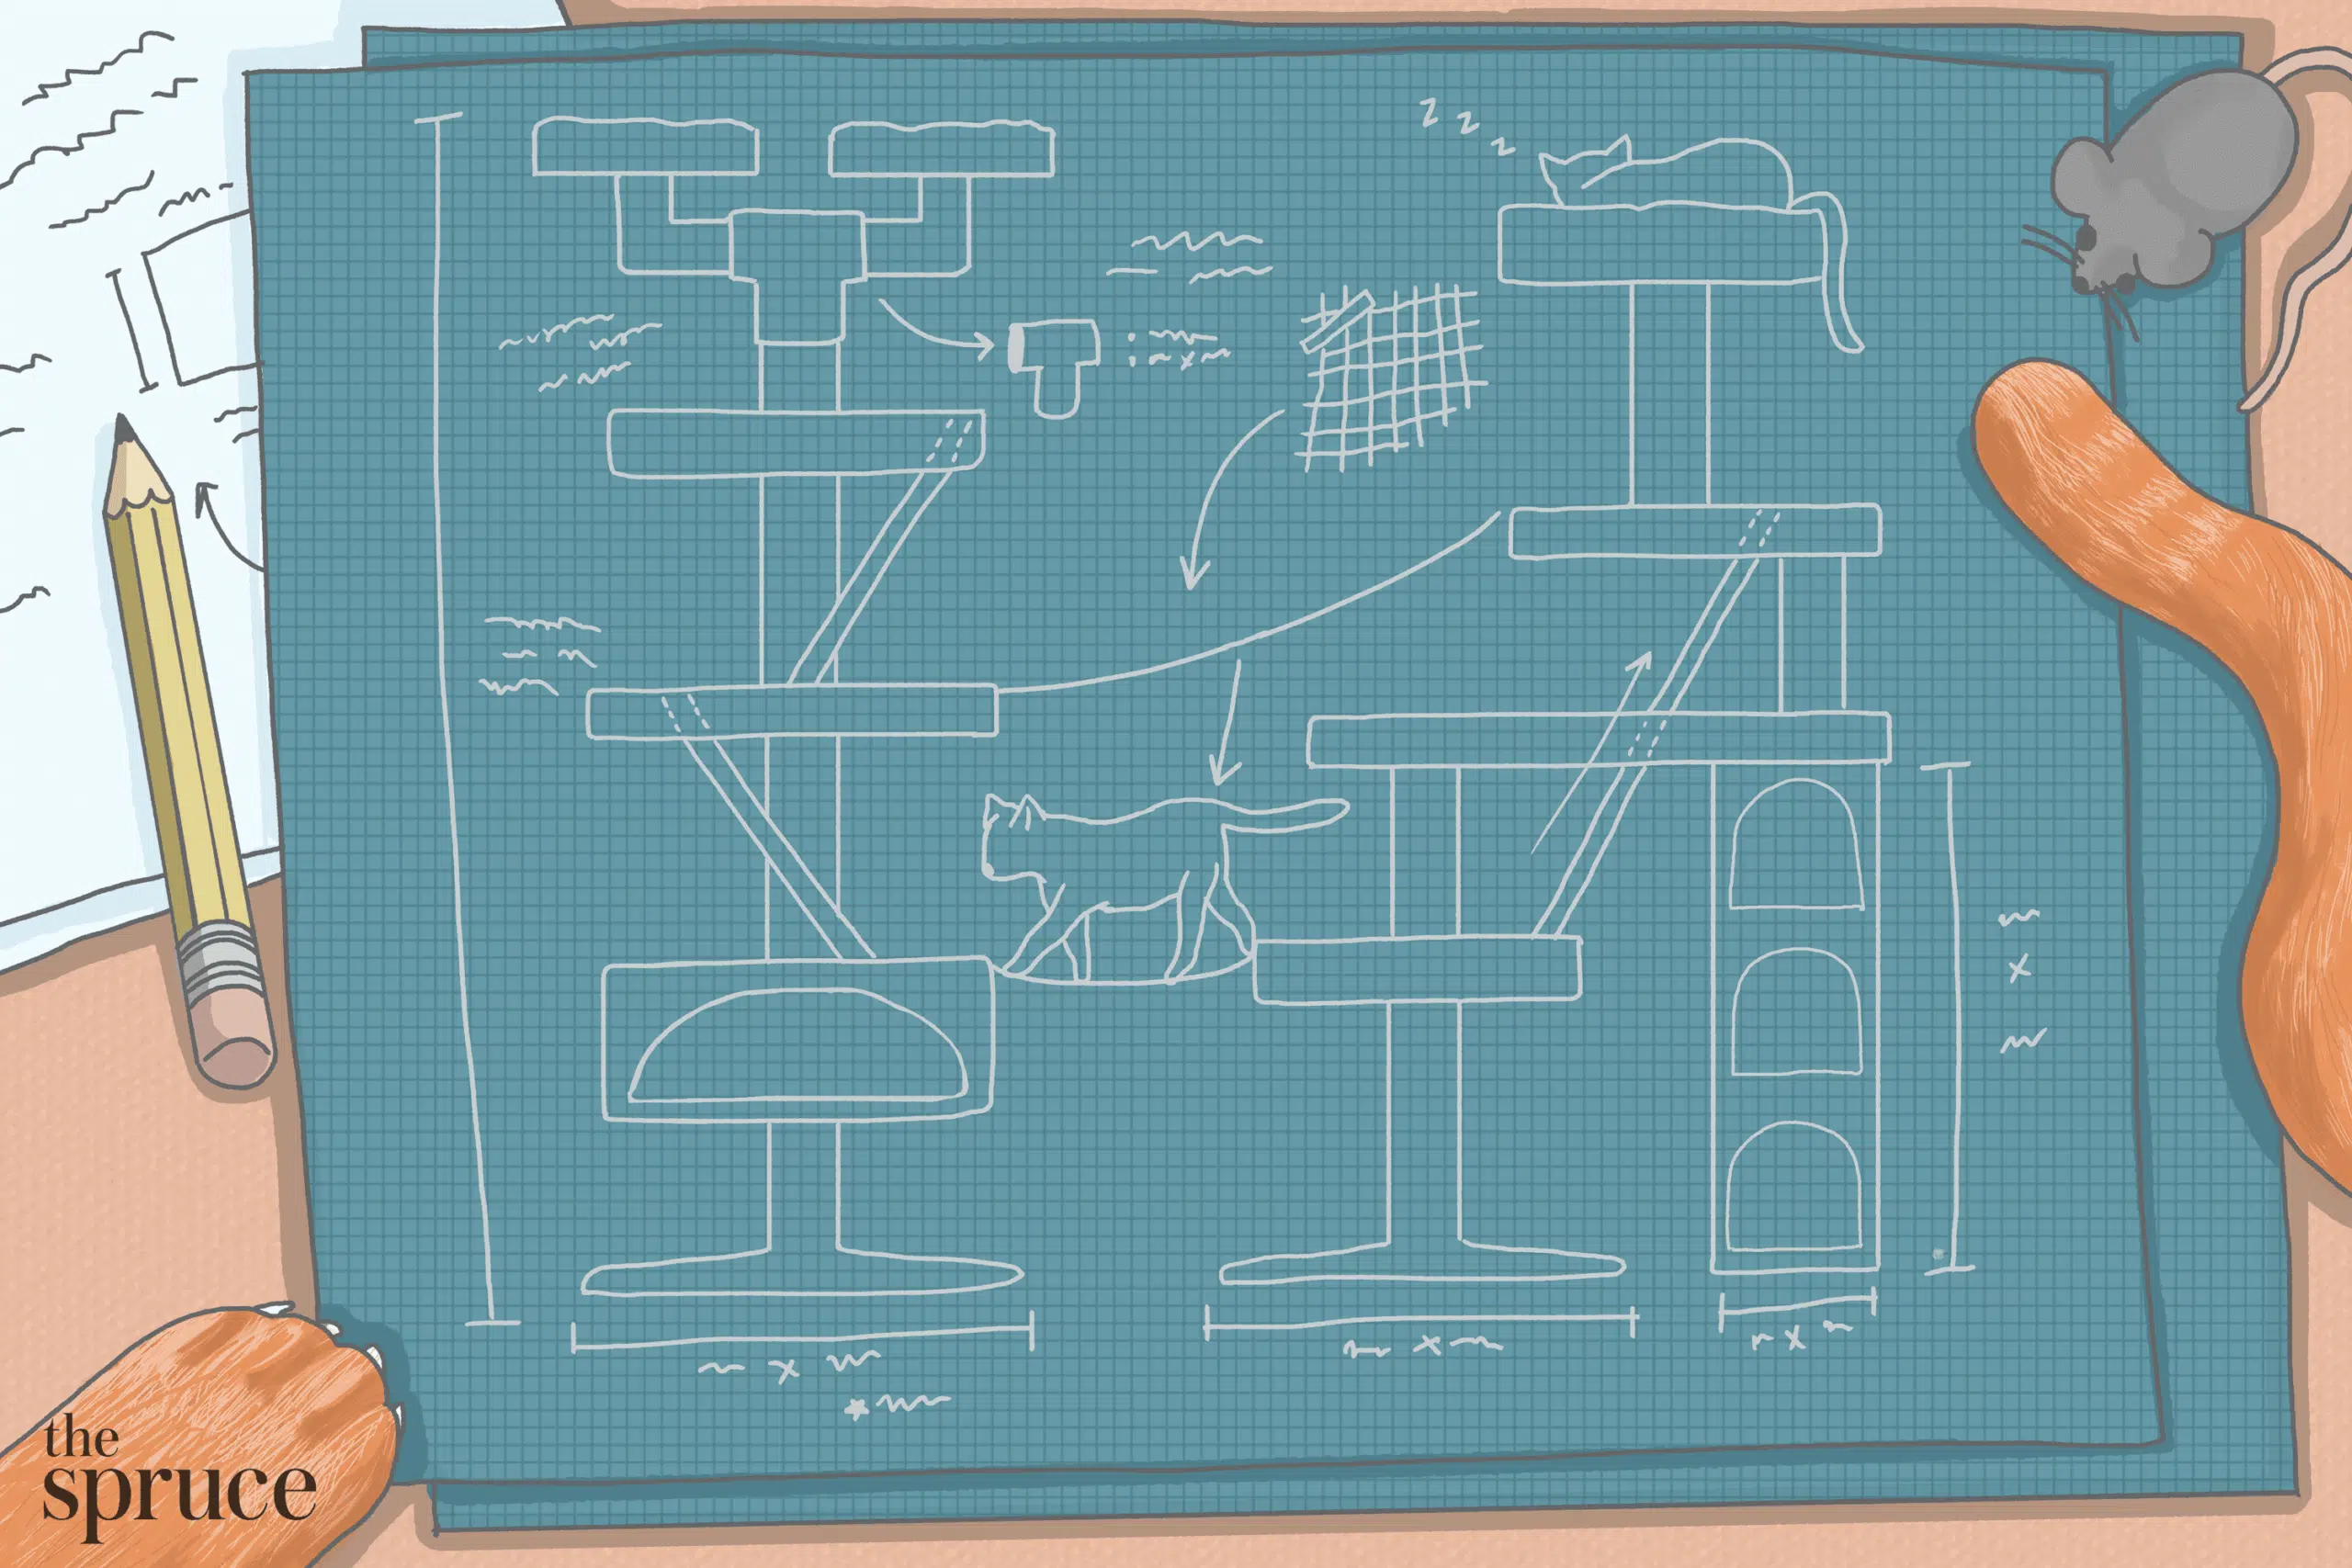
Once you have assessed your cat’s needs and preferences and chosen a location, begin sketching a design for your cat tree. You can create a simple drawing or use design software to help visualize the layout. Consider the number and size of platforms, perches, scratching posts, and any additional features like hideaways, tunnels, or hammocks. Ensure that the design includes a balance of climbing, scratching, and resting areas to cater to your cat’s needs.

D. Tips for creating a balanced and stable structure:

When designing your cat tree, it’s essential to prioritize stability and balance to ensure the safety of your cat. Here are some tips to help you achieve a well-balanced structure:

  1. Use a wide and sturdy base to support the weight of the entire cat tree and prevent it from tipping over.
  2. Distribute the weight of the platforms and perches evenly across the structure, avoiding designs that are too top-heavy or unevenly weighted.
  3. Ensure that the height and placement of platforms and perches allow for easy and safe access for your cat. Incorporate ramps or steps for cats with limited mobility.
  4. Use strong and durable materials for the frame, such as wooden posts and plywood platforms, to support the weight of your cat.
  5. Secure all components, including platforms, posts, and hardware, with appropriate fasteners and brackets to prevent wobbling or collapsing.

By thoroughly planning and designing your custom cat tree, you can create a safe, functional, and appealing play space tailored to your cat’s needs and preferences.

IV. Step-by-Step Construction Guide

A. Preparing the wooden boards and posts:

  1. Cutting to the desired dimensions: Using the measurements from your design, cut the wooden boards and posts to the desired dimensions with a saw. Ensure that you make straight and clean cuts to avoid any uneven or unstable surfaces.
  2. Sanding the edges: After cutting the boards and posts, sand the edges to remove any splinters or rough spots. This will help prevent potential injuries to you or your cat during construction and use.

B. Wrapping the posts with sisal rope:

  1. Attaching the rope: Start by applying a strong adhesive, like wood glue or hot glue, to the bottom of the post. Press the end of the sisal rope onto the glue and hold it in place until the glue sets. You can also use a staple gun to secure the rope’s end to the post for added durability.
  2. Ensuring a tight and secure wrap: Begin wrapping the sisal rope tightly around the post, making sure to keep the coils close together without any gaps. Apply glue intermittently as you wrap to ensure the rope stays in place. Once you reach the top of the post, cut the rope and secure the end with glue and/or staples.

C. Assembling the platforms and perches:

  1. Attaching brackets and hardware: On the underside of each platform, attach L-brackets or angle brackets using wood screws. The brackets should be positioned near the corners where the platforms will connect with the posts. Pre-drillpilot holes to make it easier to screw in the brackets and prevent the wood from splitting.
    1. Securing the platforms to the posts: Align the platforms with the posts according to your design, ensuring that the brackets are in contact with the posts. Use wood screws to secure the brackets to the posts, creating a stable and sturdy connection. Make sure the platforms are level before fully tightening the screws.

    D. Attaching carpet or fabric to the platforms:

    1. Cutting the material to size: Measure the dimensions of each platform and cut the carpet or fabric accordingly, adding a few extra inches on each side to wrap around the edges. To ensure a neat appearance, you can also cut out notches at the corners of the material to reduce bulk when wrapping.
    2. Stapling the material to the platforms: Lay the carpet or fabric on a flat surface and place the platform upside down on top of it, aligning the edges. Pull the material tightly over the edge of the platform and use a staple gun to secure it in place. Continue this process around the entire platform, making sure the material is smooth and taut.

    E. Adding additional features:

    1. Hammocks: To create a hammock, cut a piece of durable fabric to the desired size and attach each corner to the cat tree using eye hooks, carabiners, or rope. Ensure the hammock is securely fastened and can support your cat’s weight.
    2. Hideaways: Build a hideaway by constructing a small box or enclosure using wooden boards. Cut an entrance hole for your cat and attach the hideaway to the cat tree using brackets and screws. You can also line the interior with carpet or fabric for added comfort.
    3. Toys and hanging elements: Add toys and hanging elements to your cat tree to provide extra stimulation for your cat. Attach dangling toys, such as feather teasers or small plush toys, to the platforms or posts using eye hooks, string, or elastic cords. Ensure that all toys are securely fastened and that there are no small parts that could pose a choking hazard.

    By following this step-by-step construction guide, you can create a custom cat tree that meets your cat’s needs and preferences. Remember to prioritize safety and stability throughout the building process and regularly inspect the cat tree for any signs of wear or damage.

V. Safety Tips and Precautions

A. Ensuring stability and balance:

  1. Wide base: Make sure your cat tree has a wide and sturdy base to prevent it from tipping over. The base should be proportional to the height and overall size of the cat tree to support its weight effectively.
  2. Even weight distribution: Design your cat tree in a way that distributes the weight of the platforms and perches evenly across the structure. Avoid designs that are too top-heavy or unevenly weighted, as they may pose a risk of tipping or collapsing.
  3. Appropriate height: Consider the height of the cat tree in relation to your cat’s age, size, and mobility. Ensure that the height and placement of platforms and perches allow for easy and safe access for your cat.

B. Properly securing all parts and hardware:

  1. Brackets and screws: Use appropriate brackets and screws to connect platforms, posts, and other components. Pre-drill pilot holes to make it easier to screw in the brackets and prevent the wood from splitting.
  2. Tight connections: Ensure that all screws, bolts, and other fasteners are tightened securely to prevent wobbling or loosening over time. Regularly check and tighten hardware as needed.
  3. Safe attachment of accessories: When adding toys, hammocks, and other accessories, make sure they are securely fastened and cannot easily detach or break. Use eye hooks, carabiners, or rope to attach these elements safely.

C. Inspecting the cat tree regularly for wear and tear:

  1. Sisal rope condition: Regularly check the sisal rope on the scratching posts for signs of fraying or loosening. Replace the rope when it becomes worn to maintain a suitable scratching surface for your cat.
  2. Platform stability: Inspect the platforms and perches for any signs of sagging, cracking, or loosening. Make any necessary repairs or replacements to ensure a safe and stable structure.
  3. Hardware integrity: Examine all brackets, screws, and other hardware for signs of rust, wear, or damage. Replace any damaged or worn hardware to maintain a secure and safe cat tree.

By following these safety tips and precautions, you can create a secure, stable, and durable cat tree that will provide your cat with endless enjoyment while keeping them safe and healthy. Regular inspections and maintenance will ensure your cat tree remains a fun and safe play space for your feline friend.

PRICE MATCH

If you find a lower price for any of our ‘in-stock’ products, we will match the price and send you some complimentary cat nip free of charge!

FAST AND FREE DELIVERY

98% of orders of our ‘in-stock’ products are delivered within 3-5 working days of your order being placed with us. If your product does not arrive within this time period, we will send you some complimentary toys for you feline friend to play with!

SECURE ONLINE SHOPPING

Online shopping with Cat Tree UK Ltd are handled securely via Stripe. Stripe has been certified to Level 1 PCI Service Provider . This is the most stringent level of certification that is available within the payments industry.

INTEREST FREE MONTHLY PAYMENTS

98% of orders of our ‘in-stock’ products are delivered within 3-5 working days of your order being placed with us. If your product does not arrive within this time period, we will send you some complimentary toys for you feline friend to play with!